Domain Management
You can access Domain Management by clicking on your name in the upper-right corner and then selecting "Domain Management." In Domain Management, you can create, edit, and delete your domains, as well as enable or disable the NoLabel-feature.
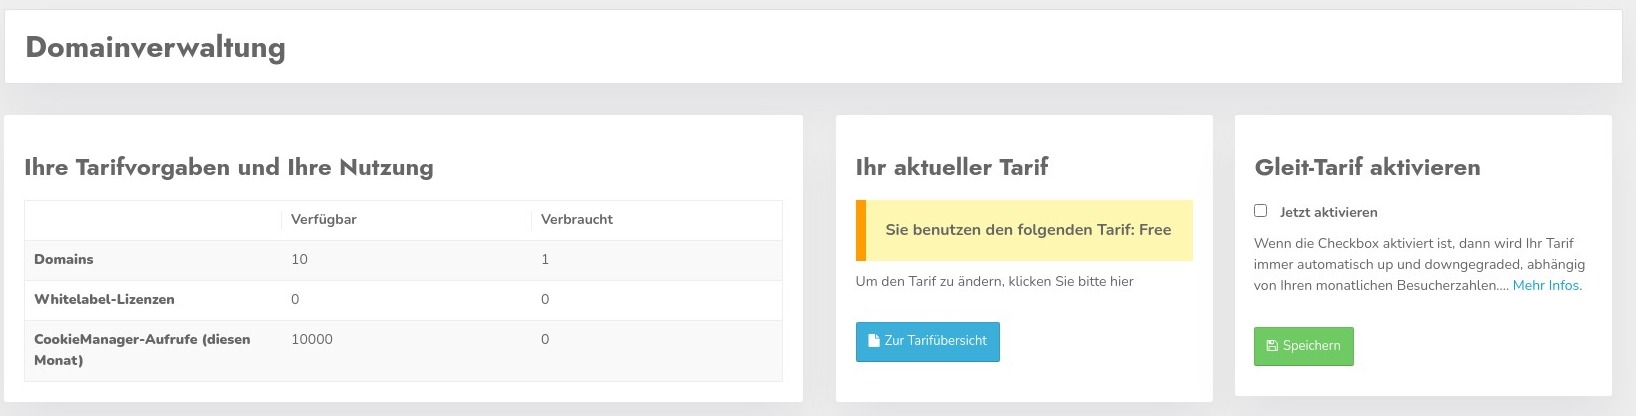
You’ll also see an overview of how many calls you have available and how many have already been used. It also shows the number of domains and the number of NoLabel-licenses. The call data is reset on the 1st of every month.
The section next to it displays your current plan— -, in this case, the Free plan. You can use the “Go to Plan Overview” button to sign up for a plan directly from there. You can also enable the Flexible Plans, but to do so, you must already have signed up for at least one Starter plan.
CCM19 Sliding-Scale Rates
Sliding-scale rates can be activated starting with the Starter-plan. You’ll find the activation option in the domain management overview, in the right-hand box above the domain list.
What Are Tiered Rates and How Exactly Do They Work?
In principle, it’s quite simple: If 95% of your available impression quota has been used up at least one day before the end of the month, your account will automatically be upgraded to the next higher tier. This means you no longer have to initiate the upgrade yourself if it becomes apparent that your impressions will not be sufficient.
Example: You’re using the Business-plan with 100,000 page views per month. On the 27th of the month, you reach 95,000 page views—at that moment, you’ll be automatically upgraded to the next higher plan, Business, which includes 250,000 page views. The term will then be 1 month again, starting from the new booking date. The sliding-scale plans are only available with the following payment methods: PayPal, credit card, invoice, and direct debit. Furthermore, we can only offer this feature with monthly payments.
These automatic plan-upgrades only occur if you explicitly check the box and save your settings. If the box is not checked, no subscription will be processed, and you will simply receive a notification via email—as usual—that your plan is about to expire.
Note: The automatic plan adjustment will also take effect afterward if you have significantly fewer views and a lower-tier plan is applicable to you. If, in the month following the upgrade, you use only up to 25% of the next lower plan, you will automatically be switched back to the next lower plan. However, you can only be downgraded to the plan you originally subscribed to. When upgrading from Starter to Business, you can only revert to the lowest Business tier, as otherwise features would be lost.
Create / Edit Cookies
Clicking on the domain name or the blue button in the"Edit Banner"column takes you to the cookie-management page for that domain. You can find more information here.
Create and Edit Domains
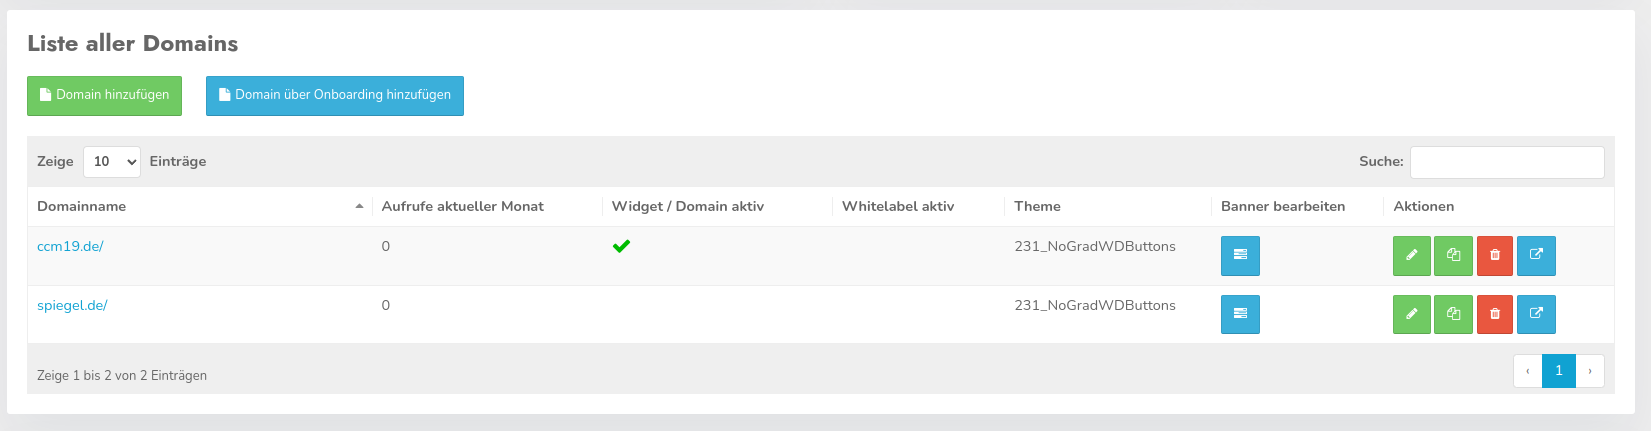
The list shows all the domains you currently manage. Using the buttons on the right in the “Actions” column, you can edit, copy, or delete the corresponding domain, or visit the site itself (from left to right).
The table also shows whether the domain is active—that is, in use—or not. It also shows whether the domain is being used as a NoLabel, how many page views have already been used this month, and which theme is currently in use.
Edit Entry
Clicking the green icon takes you to the settings screen, where you can change the settings for that domain.
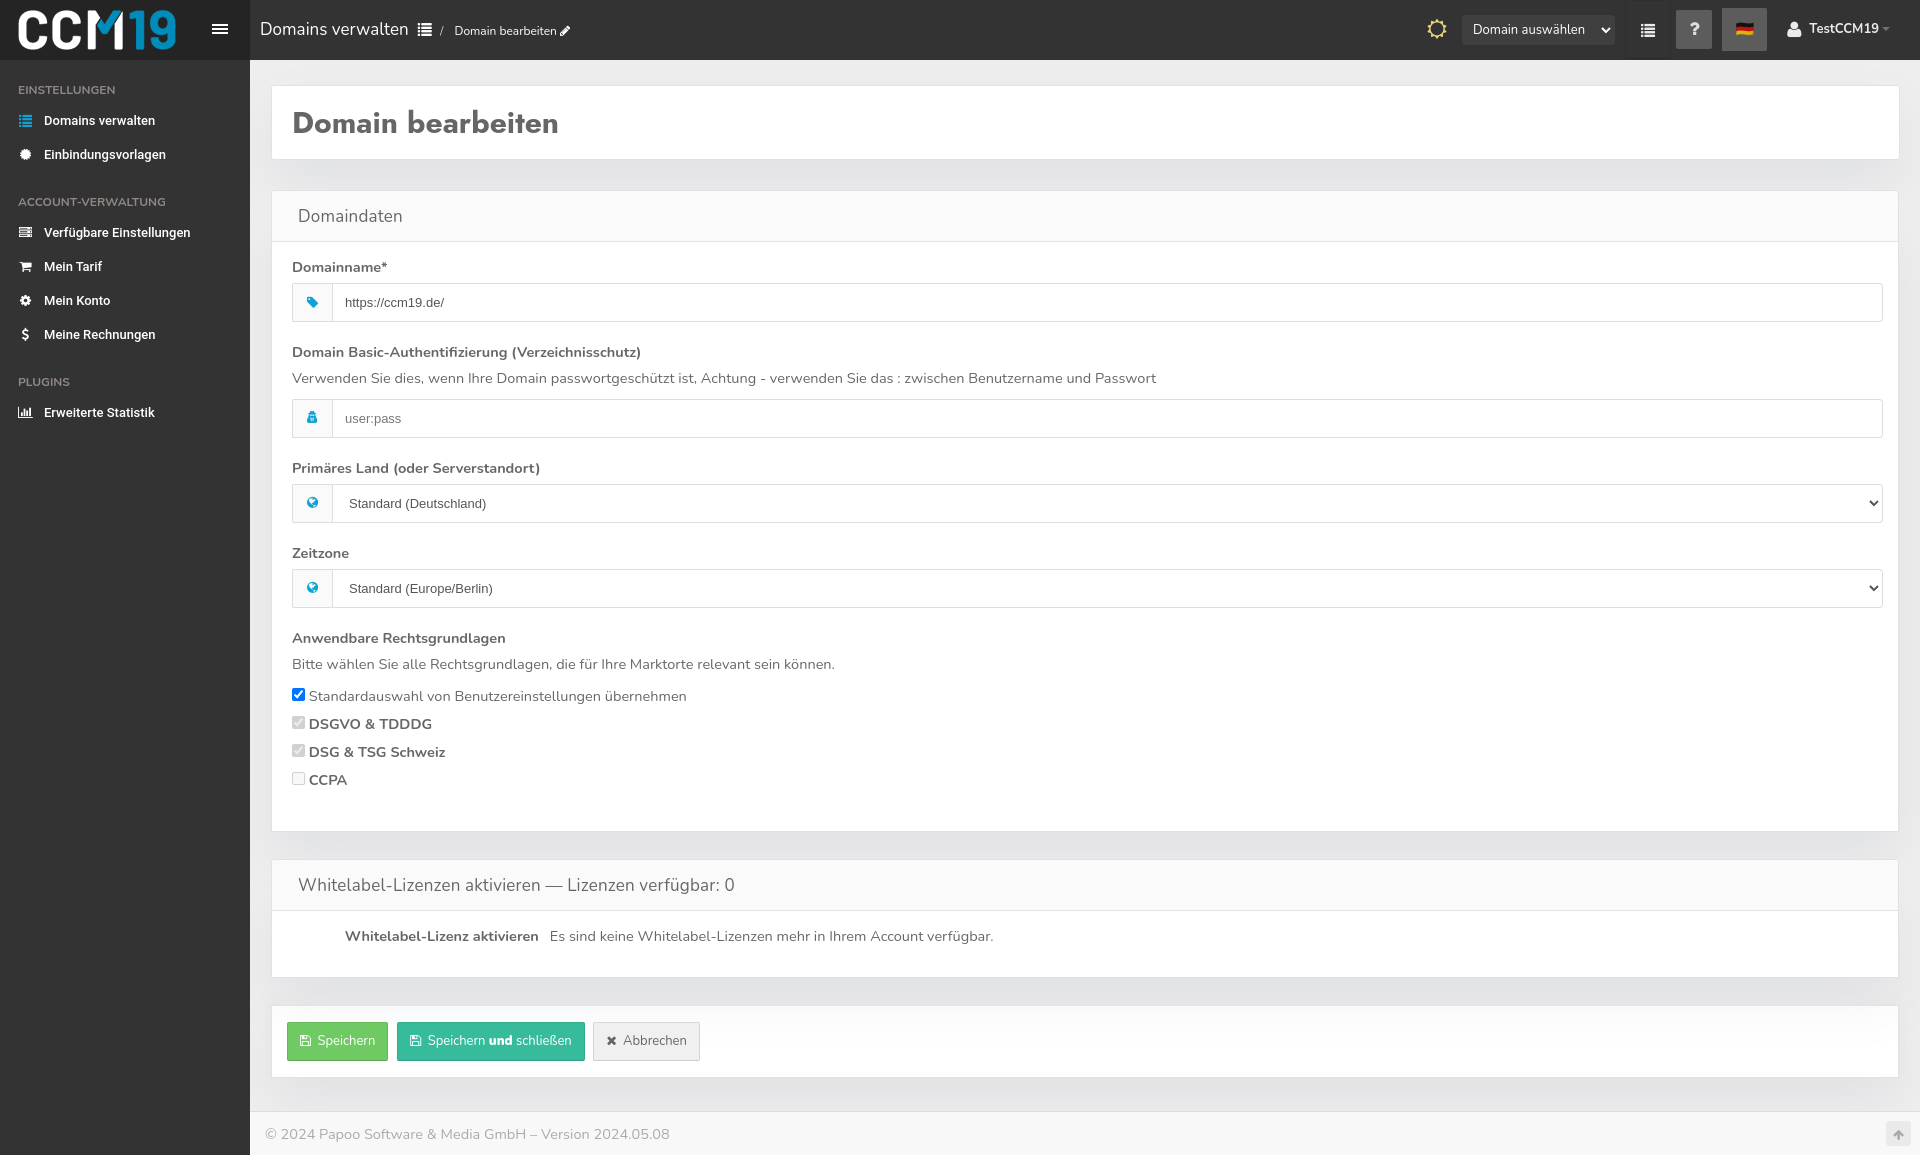
Domain Basic-Authentication (Directory Protection)
Use this if your domain is password-protected. Note: Use a colon (:) between the username and password. That is, a colon between Username:Password
Copy Domain
Use theCopy-iconto copy an entry in its entirety, including all settings.
Delete Domain
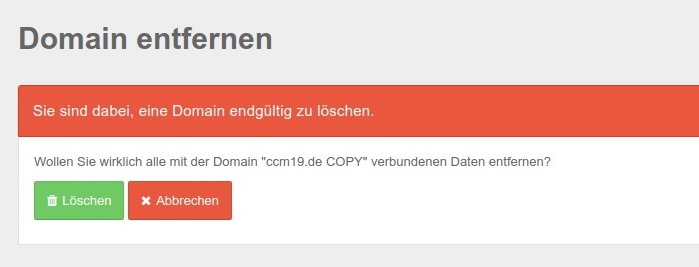
Use the red button to completely delete the domain entry—after a confirmation prompt.
Bulk Actions

Use these buttons with CAUTION. The first button deletes all PageCheck-entries for all domains—that is, everything found by PageCheck— WITHOUT CONFIRMATION! PageCheck regularly checks your domains for new cookies and other entries. After deletion, the data should quickly fill up again.
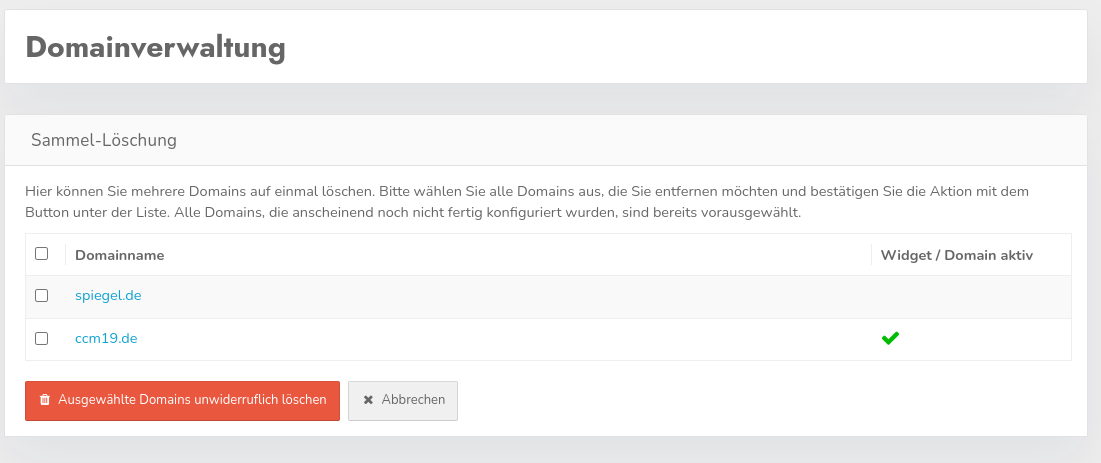
The second button deletes all inactive domains. These will then be irretrievably lost. No backup is created at this point! However, a confirmation prompt will appear asking whether you really want to delete the domains.
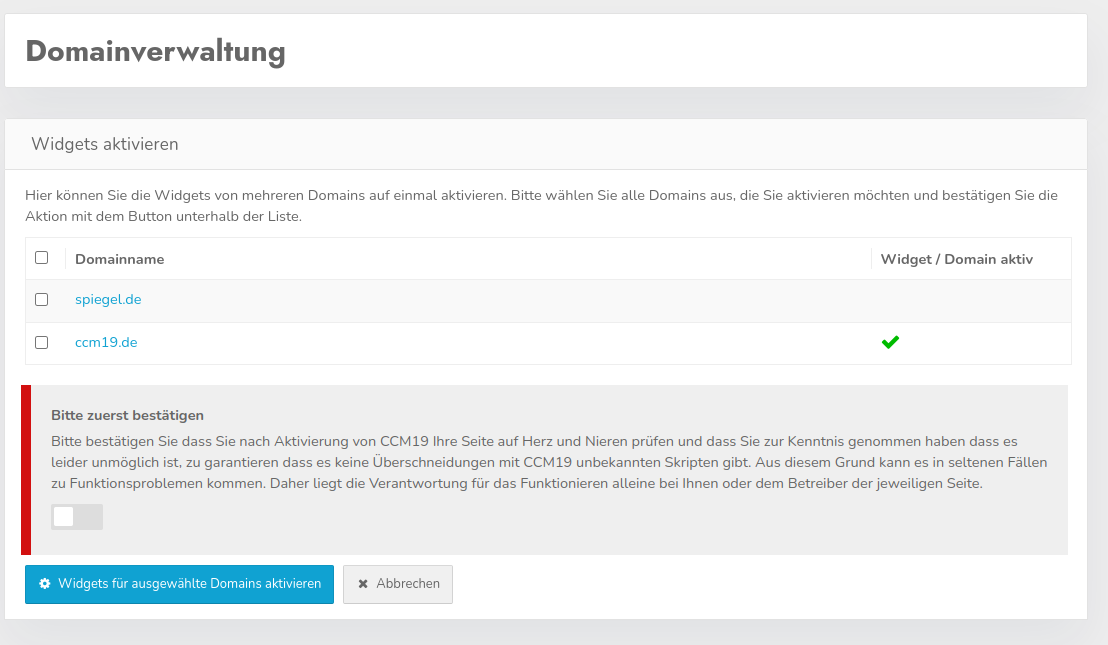
The last button allows you to enable the widgets for a list of selected domains.