Setting Up and Using Themes
CCM19 is fully theme-compatible—meaning you can customize the appearance of all front-end elements. You can try out as many themes as you like.
When you click the “Themes” menu item, you’ll first see an overview of the available themes.
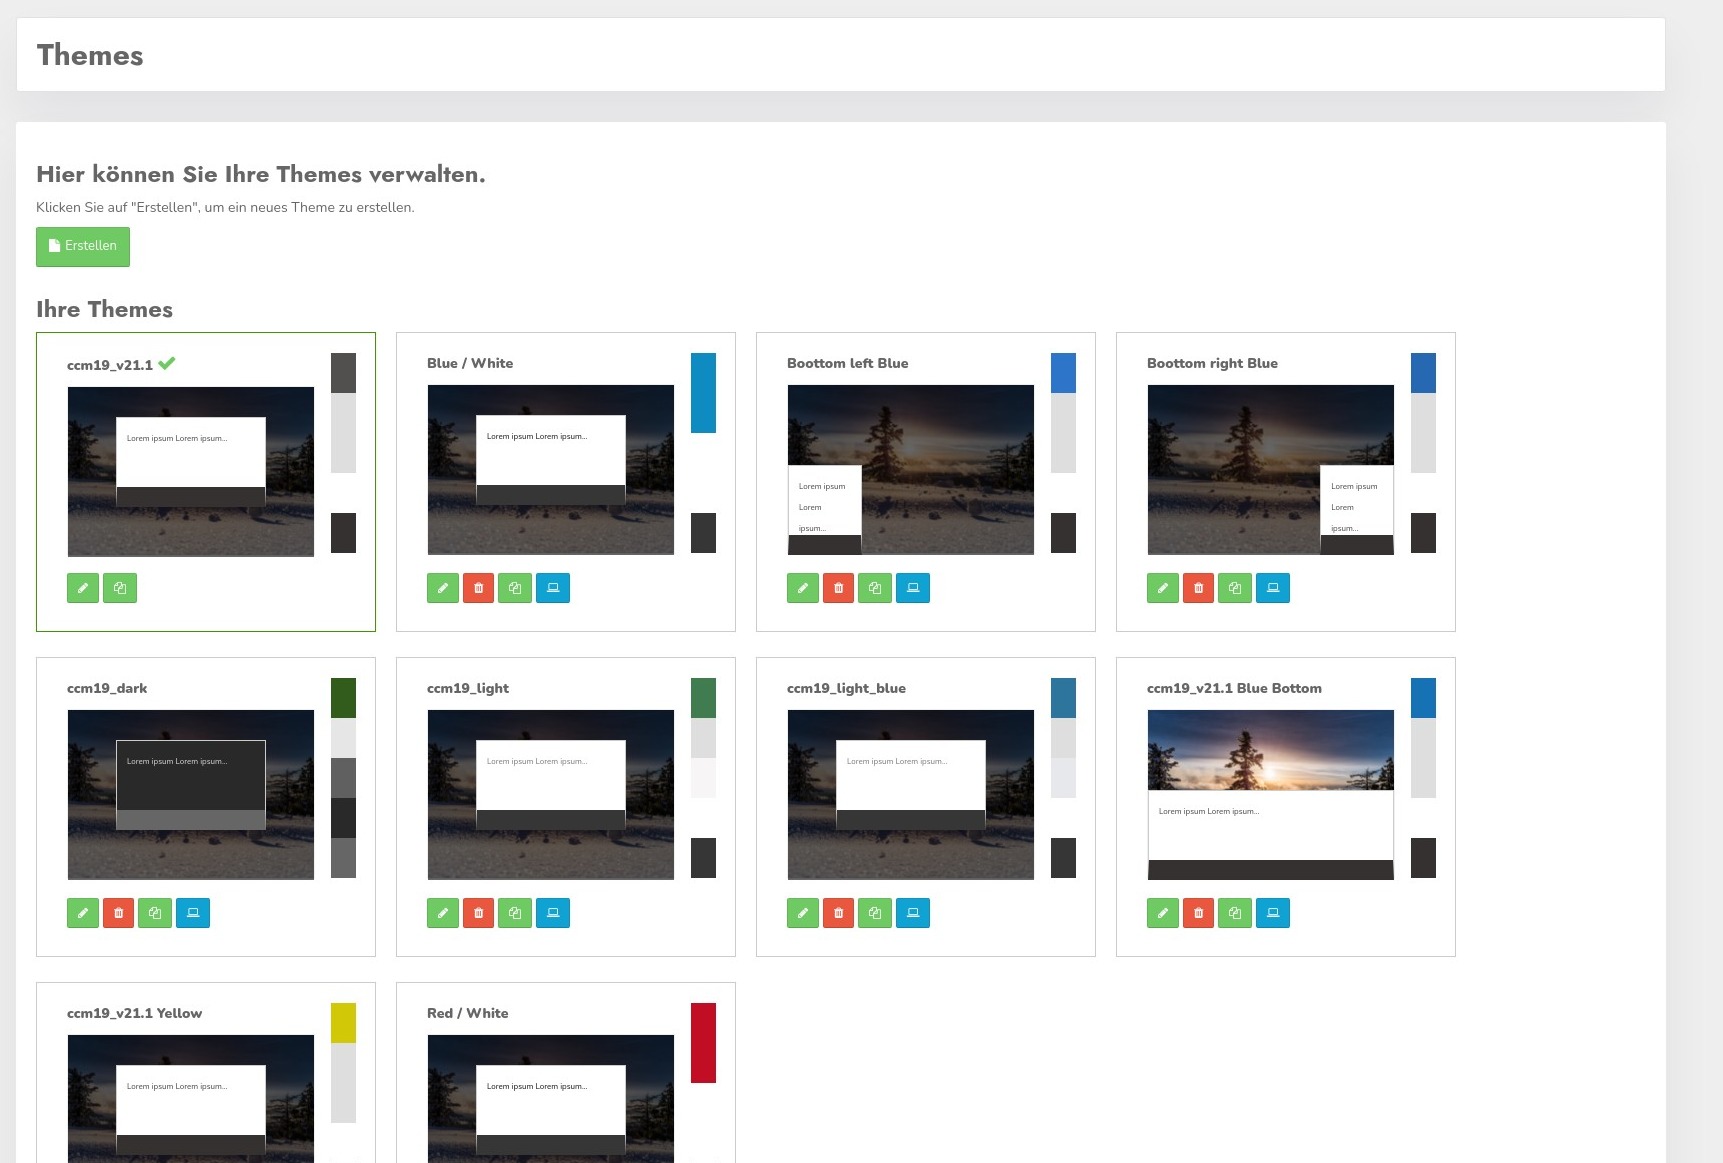
Clicking the green pencil icon takes you to the editing screen, the red trash can deletes your theme (after confirmation), and clicking the double green folder icon copies the existing theme.
Clicking the blue icon sets the theme as the default for the front end.
Create a New Theme
If you want to create a new theme, you can either click the “Create” button or copy an existing theme and customize it.
Copying is the method recommended by CCM19—even for customizing existing themes. This way, you always have a fallback option available.
Customize Layout / Theme
In each theme, you can define the theme using various buttons and settings. In addition, you can use CSS-to customize every visual detail. The entire front-end interface can be customized via CSS.
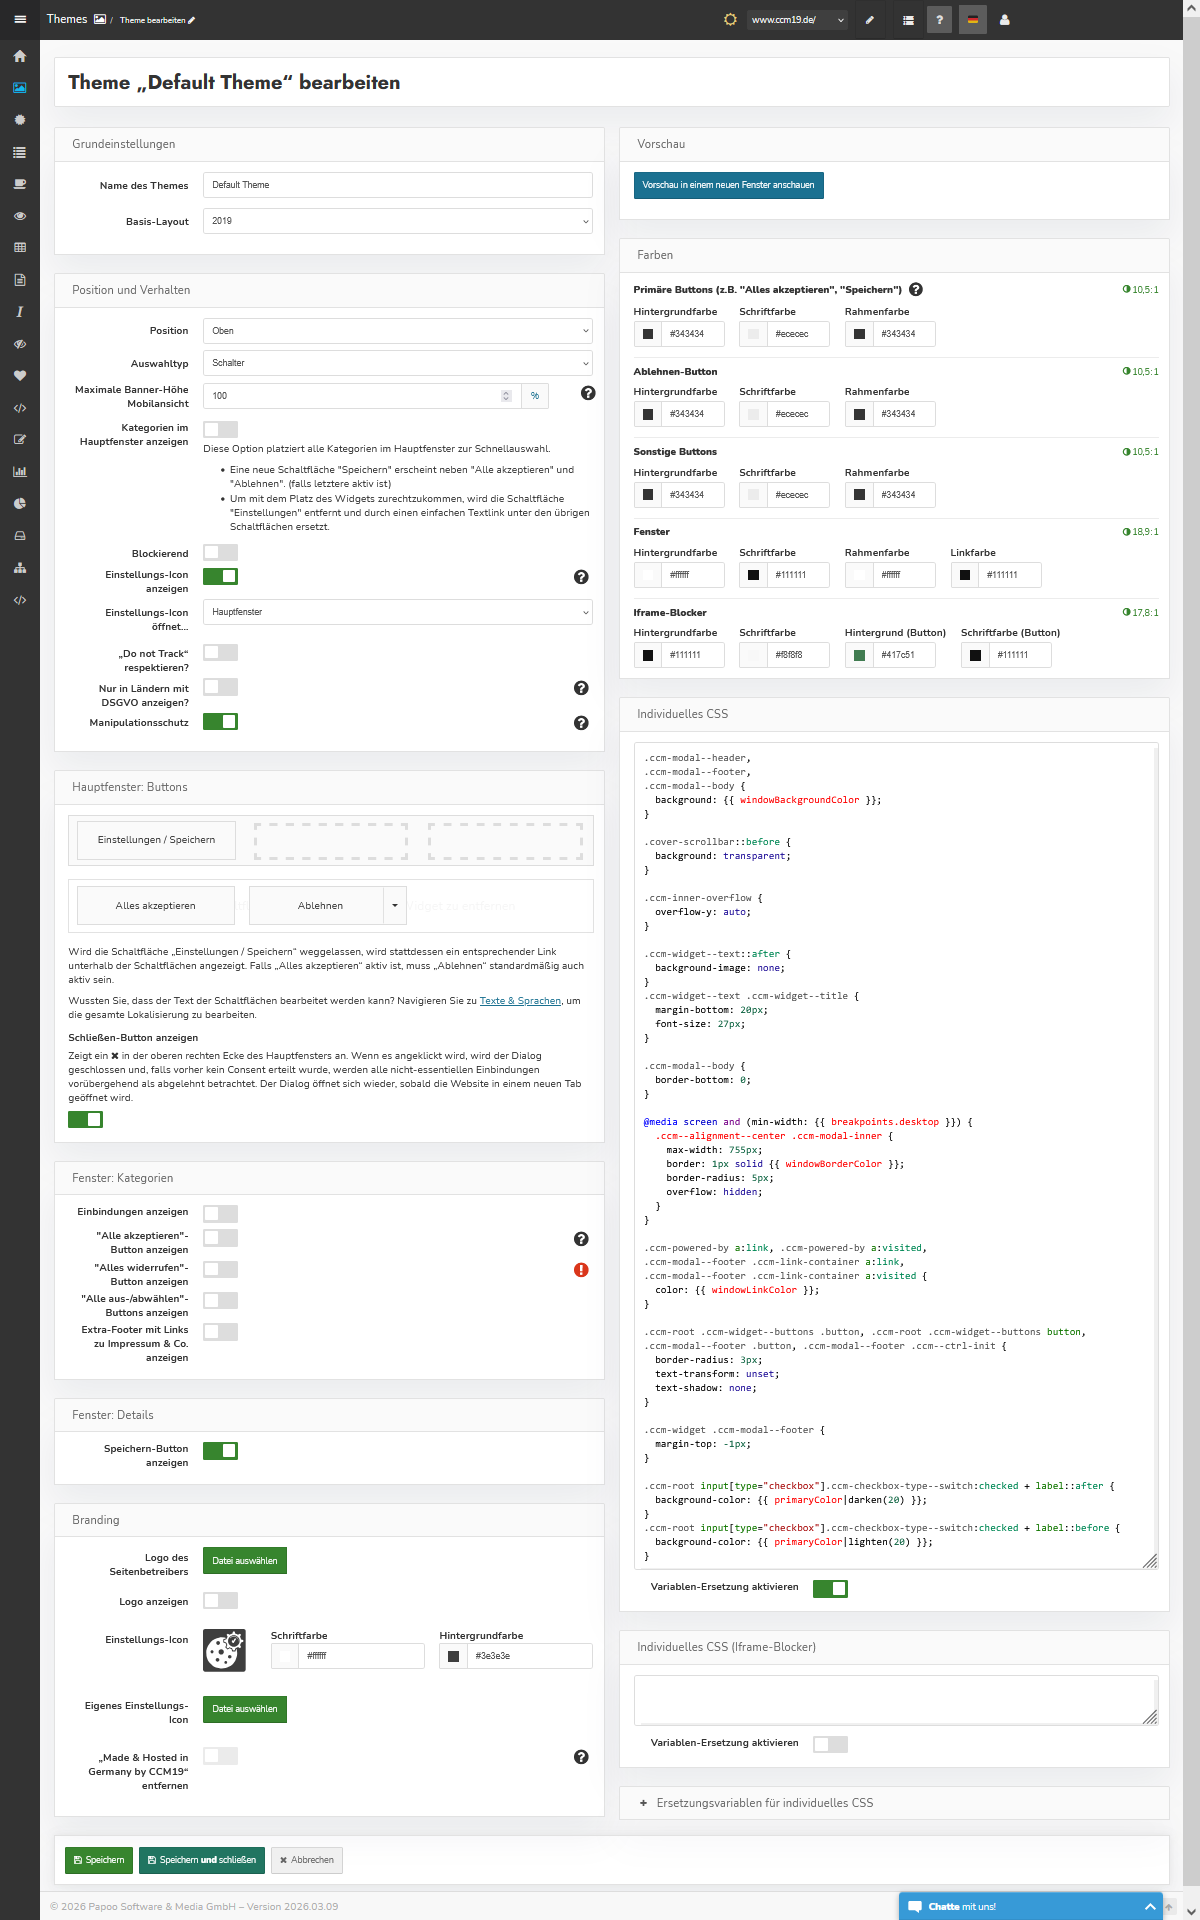
If in doubt, use!importantin your custom CSS-settingsto override settings in your content-management-system. You’ll find numerous configuration options in the interface. The settings you configure here will determine how the frontend appears.
Note**: Some features, such as Custom CSS, are not available on all plans. You can find more information about the features included in each plan here.
Preview
Click the "Preview" button to see a preview of the frontend-widget with your settings. Clicking it does not open your website, but rather a page within the CCM19 admin area. You’ll need to reload the page after making any changes to the layout. The widget is fully functional -, meaning you can test all elements of the widget.
In the background, a screenshot of your current homepage is always loaded so you can see the effect immediately.
.jpg)
The buttons and background colors you set in the admin panel are displayed directly on the front end. The “Legal Notice” and “Privacy Policy” links can also be customized visually.
Buttons & Settings
The following settings are also available:
Position
Here you can position the cookie-banner on the website. You can choose from the following positions:
- Center
- Top
- Bottom
- Bottom Left
- Bottom Right
Selection Type
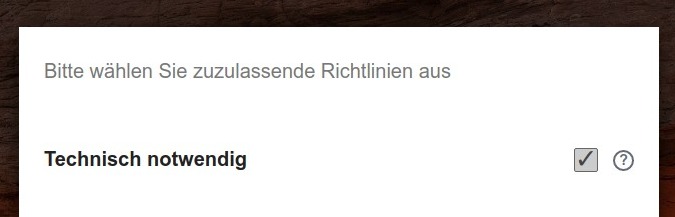
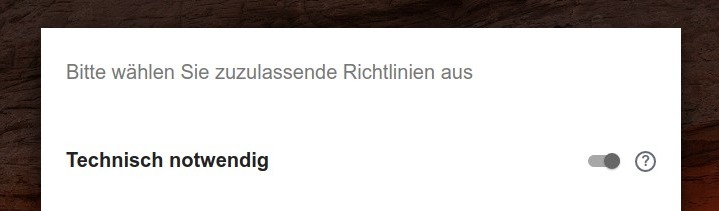
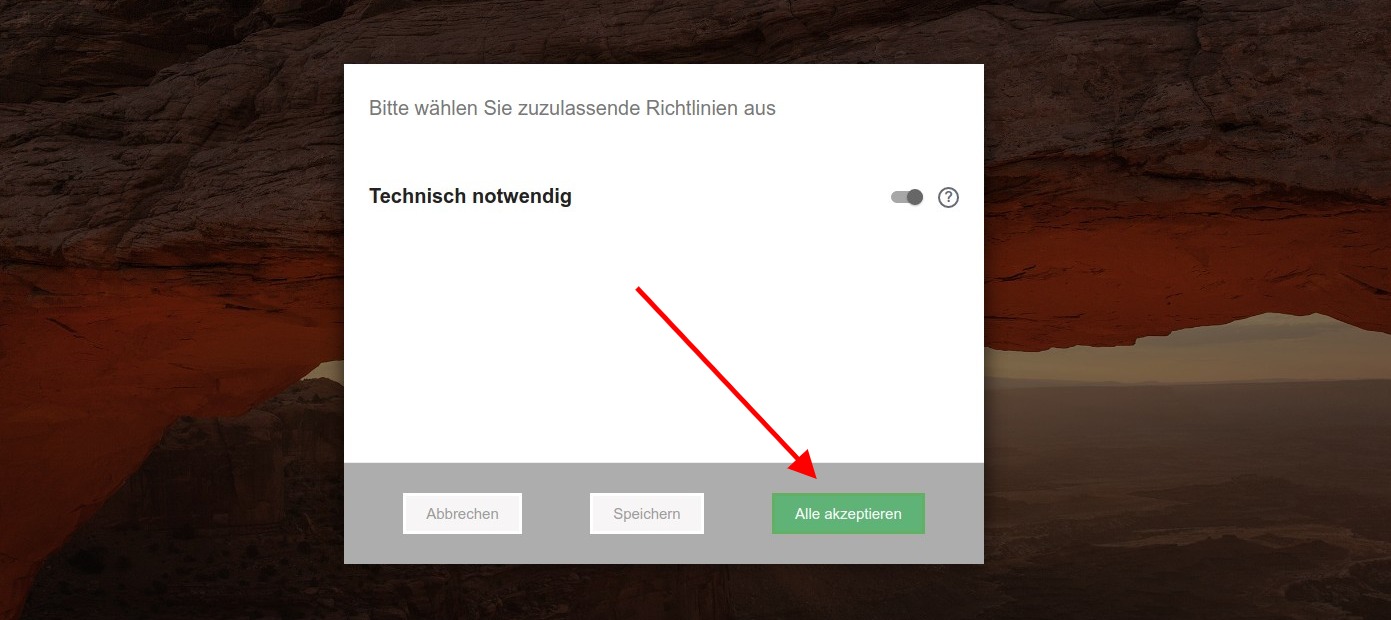
You can choose whether the settings in the banner for categories and individual embeds are displayed as checkboxes or toggles:
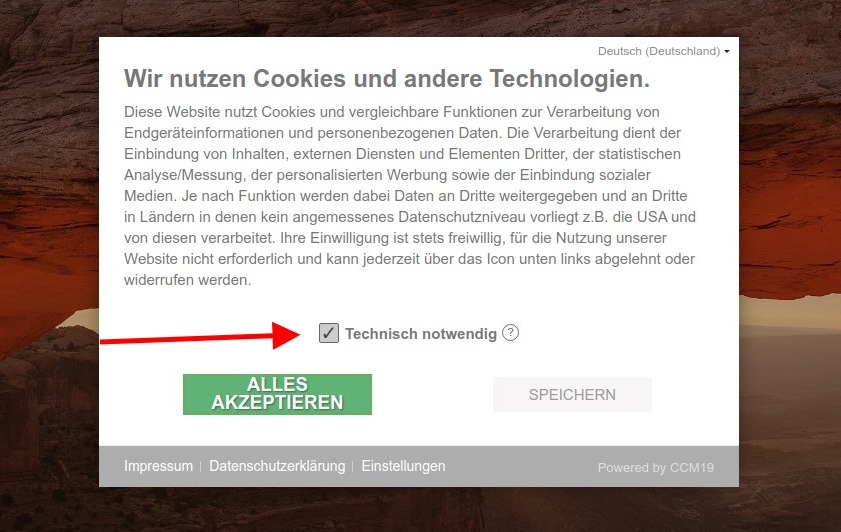
Checkboxes:
Toggle buttons:
You can, of course, customize the colors using the individual CSS settings at-.
Show Categories in the Main Window
This option places all categories in the main window for quick selection.
- A new "Save" button appears next to "Accept All" and "Reject" (if the latter is active).
- To make the most of the widget’s space, the "Settings" button is removed and replaced with a simple text link below the other buttons.
Blocking
Blocking means that—as shown in the screenshot—the page is darkened and blocked in the background. Only after a visitor has definitively decided whether to accept the cookies or not will they be allowed to access the page.
Show Settings-Icon
If this checkbox is selected, an settings-icon will be displayed on the website via JavaScript after the cookie-banner is confirmed. This allows the option to revoke consent, as required by the GDPR and the TTDSG, to be provided easily and without further intervention on the page. By default, the icon is placed in the lower-left corner.

Settings-Icon opens…
Here you can specify which window should open when the settings-icon is clicked: the first or second layer of the widget—that is, the general start view or the detail view with the corresponding selection.
Respect “Do Not Track”
If this setting is enabled, the “Do Not Track” (DNT) setting in the browser is automatically respected and implemented—that is, no cookie-banner is displayed; instead, only technically necessary elements are loaded directly if the visitor has enabled the DNT-feature in their browser.
However, please note that this setting is usually disabled in most browsers and is already considered obsolete by some browsers.
Display Only in Countries Subject to the GDPR
With this setting, you can specify that the cookie-notice is displayed only to visitors from the EU or countries with GDPR-or similar legislation. This determination is based on the visitor’s IP address and therefore cannot be 100% accurate. For visitors from other countries, all cookies are enabled unless the visitor signals “Do Not Track” and “Respect Do Not Track” has been enabled.
This product contains GeoLite2-data from MaxMind, available at https://www.maxmind.com.
Country Classification
Some countries (even if they are not part of the European Union) are classified differently. You can find more information here:
Unknown country (e.g., intranet-IP)
In this case, it is always assumed that the GDPR may apply.
Similar Laws: Adequacy Decisions with the EU Exist
These countries are treated by default as EU-countries because they have enacted data protection laws that are strict enough to qualify for an EU data protection-adequacy decision.
- Andorra
- Argentina
- Canada (PIPEDA)
- Switzerland
- Faroe-Islands
- Guernsey
- Israel
- Isle of Man
- Jersey
- Japan
- South Korea
- Liechtenstein
- New Zealand
- United Kingdom (PECR/UK GDPR)
- Uruguay
Similar Laws, but Without an Adequacy Decision
These countries are also treated by default as EU-countries because they have enacted data protection laws that, in the assessment of the CCM19-developers, are strict enough to justify displaying the data protection-banner.
- Brazil (LGPD)
- Mexico
- Turkey (LPPD)
- Singapore (PDPA)
- Monaco (Act 1.054) (so far, only a limited adequacy decision for financial data)
- San Marino (GDPR, Law No. 171)
Tamper Protection
This setting prevents simulated clicks on the “Accept”-buttons to protect the user’s cookie-selection and thereby strengthen your legal position regarding the provision of consent.
Unfortunately, some scripts—such as “fastclick”—that interfere with the processing of finger taps and mouse clicks can trigger this protection. If you use such a script, please check whether you really need it and whether the cookie-dialog is still usable in standard mobile-browsers. Otherwise, it may be necessary to disable the anti-manipulation protection.
Do not disable this feature unless you are certain it is absolutely necessary. Doing so could weaken your legal position when proving that consent was given.
Main Window Buttons
Here you can specify the order and selection of buttons in the main window of the cookie-banner.
Additionally, the “Show ‘Close’-button” setting allows a ✖ to be displayed in the upper-right corner of the banner. Clicking it temporarily closes the Cookie-dialog until the browser-tab is closed, and only technically necessary cookies are loaded.
Note:
According to the TTDSG and GDPR, a consent-widget must provide an equivalent option to reject or cancel cookies as it does to accept them. Therefore, the system automatically ensures that the “Settings” and “Reject” buttons are active as soon as the “Accept All-” button is clicked.
In the rare case that you can comply with the relevant regulations for your target markets even without a “Reject”-button, this safety feature can be disabled in the “Developer-Settings.”
Main Window: Categories
Here you can configure the functionality in the “Categories”-window (2nd level) of the cookie-banner.
Display the “Accept All”-button in the Categories window
With this setting, an additional “Accept All” button is displayed in the Categories-window.
Show “Select/Deselect All”-buttons
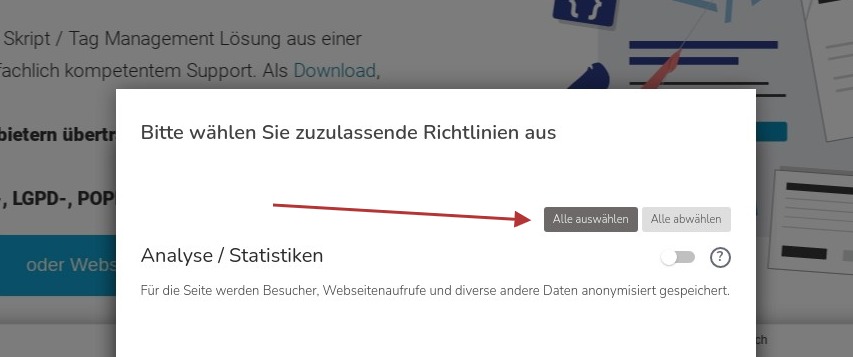
If you check this box, a corresponding option will be displayed, allowing visitors to enable or disable all embeds at once.
Extra-Footer with links to Legal Notice & Co.
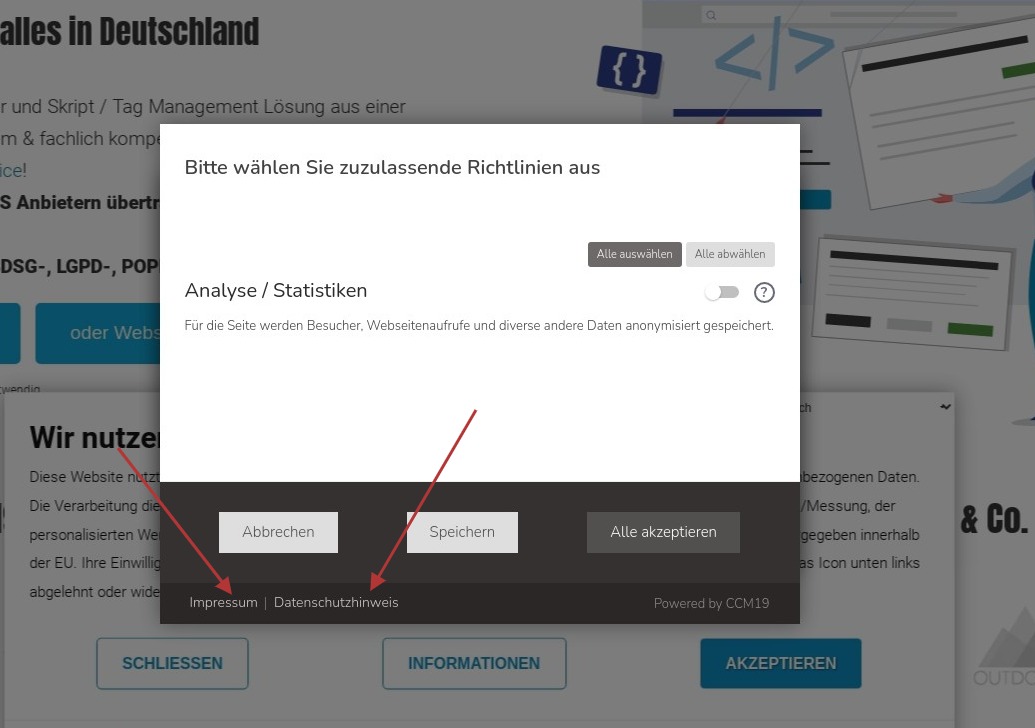
If this checkbox is selected, a footer with links to the Legal Notice, Privacy Policy, and other pages will also be displayed on the second level.
Not active by default.
Site Operator’s Logo
Here you can upload a logo for the cookie-banner. This will be displayed in the "Cookie-" banner above the text. By default, no logo is displayed.
If you have already uploaded a logo and want to delete it, click the arrow to the right of “Select File,” then click “Reset Image,” and finally click Save.
Show Logo
This allows you to set whether the logo should be displayed in the “Cookie-” banner or not.
Remove “Powered By CCM19”
By default, the “Cookie-” banner includes a link to the CCM19 website in the lower-right corner with the text “Powered by CCM19.” This link can be removed by checking this box. However, this is only possible if a NoLabel-license has been purchased for this installation beforehand.
Colors
Here you can set the colors for the various buttons and backgrounds in the frontend—please note that, for example, borders may disappear if you set a white border on a white background. White text on a white background is also invisible. It’s best to check each change in the frontend by refreshing the overlay!
Please note that the contrast between colors should also meet certain minimum requirements to ensure a certain level of accessibility. To help with this, the contrast ratio between the text and the background is displayed to the right of the color settings.
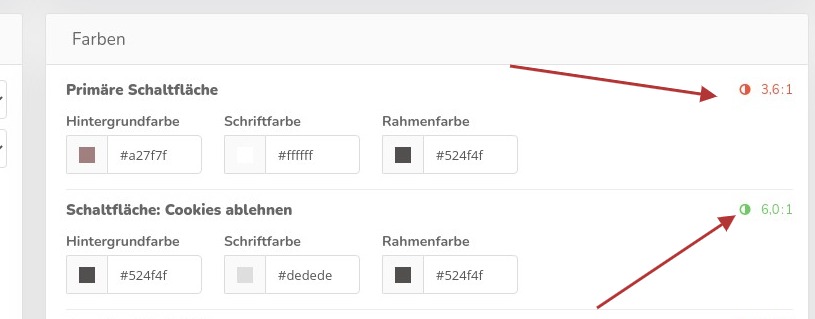
Whether the contrast is high enough is indicated by color. For buttons, for example, the contrast ratio should be at least 5:1. If the number is red, the contrast is too low.
Please also note that the contrast indicators must be green if you are using TCF / IAB.
CSS
Here you can enter completely custom CSS—for individual elements, please check your browser’s element inspector. If in doubt, you’ll need to override settings using !important— Example:
.ccm-root button {
    border:1px solid #c2bcbc;
}
.ccm-control-panel-- purpose > input[type="checkbox"] + label {
    color:#ccc;
}
.ccm-modal-- footer {
    background-color:#26282f;
}
Custom CSS for the Iframe-Blocker
Here you can assign custom CSS-instructions to the Iframe-blocker, e.g., for specific background images. To simplify the application of targeted CSS, the blocked domain is set as a CSS-class on the HTML-element.
Example:
https://www.google.com/maps/…is blocked- In the iframe, the HTML-element is assigned the class as follows:
domain-- www-google-com - Possible CSS:
```
html.domain-- www-google-com body {
    background-image: url('google-maps-placeholder.jpg');
}
html.domain-- www-facebook-com body {
    background-image: url('facebook-placeholder.jpg');
}