Integration Type 3 - Example: Google AdSense
You can also use CCM19 to unblock scripts in the source code via consent and allow them to run.
To do this, you must assign our CCM19---specific value to the type-attribute in your scripts. With this adjustment, a browser no longer recognizes the corresponding script as executable JavaScript-code and initially refrains from processing it.
We’ll explain how to change the type attribute on your website step-by-step using an example. In this example, we’ll set up Google AdSense for a website and make the necessary configurations to the script so that everything complies with the GDPR, the TTDSG, and the guidelines of the IAB as well as those of Google.
1. Locate the Script
First, we need to find all the scripts onyour website . Scripts are often placed on the website so that they load on every page of the domain. With Google AdSense, however, in addition to the general script, you also receive others that are integrated with the individual ads.
Here is the script for embedding on the page:
<script async data-ad-client="ca-pub-XXXXXXXXXXXXXXX"
        src="https://pagead2.googlesyndication.com/pagead/js/adsbygoogle.js"
></script>
And here is an example of a horizontal ad placed at a fixed location on the page:
<script async crossorigin="anonymous"
        src="https://pagead2.googlesyndication.com/pagead/js/adsbygoogle.js?client=ca-pub-XXXXXXXXXXXXX"
></script>
<!-- Horizontal Ad Test -- >
<ins class="adsbygoogle"
    style="display:block"
     data-ad-client="ca-pub-XXXXXXXXXXXXXXXXX"
     data-ad-slot="XXXXXXXXX"
     data-ad-format="auto"
     data-full-width-responsive="true"></ins><script>

     (adsbygoogle = window.adsbygoogle || []).push({});

</script>```

### 2. Adjust the src and type attributes

Now that we’ve found all the scripts we want to bring under CCM19’s control, we can add the following section or modify existing attributes accordingly:
Add the `type`-attribute as follows, or update the value if the attribute already exists. The attribute is defined in the opening `script`-tag (inside the angle brackets `<>`).

Furthermore, do not use the `src`-attribute to specify the script-URL; instead, use `data-ccm-loader-src`. With this adjustment, a browser will no longer recognize the corresponding script as executable JavaScript-code and will initially refrain from processing it.

This adjustment effectively prevents the resource or script from being loaded by the browser without consent. The scripts are only loaded and executed once consent has been granted.

```html
<script async data-ad-client="ca-pub-XXXXXXXXXXXXXX"
        data-ccm-loader-src="https://pagead2.googlesyndication.com/pagead/js/adsbygoogle.js"
        type="text/x-ccm-loader"
></script>
The line breaks are only for simplicity of illustration; everything can also be on a single line. Make sure that all attributes are separated by a space.
Since we have other scripts as well, all the others must now be edited too. In our example, this also applies to the horizontal display:
<script async crossorigin="anonymous"
        data-ccm-loader-src="https://pagead2.googlesyndication.com/pagead/js/adsbygoogle.js?client=ca-pub-XXXXXXXXXXXXX"
        type="text/x-ccm-loader"
></script>
<!-- Horizontal Ad Test -- >
<ins class="adsbygoogle"
     style="display:block"
     data-ad-client="ca-pub-XXXXXXXXXXXXXXX"
     data-ad-slot="XXXXXXXXX"
     data-ad-format="auto"
     data-full-width-responsive="true"></ins><script type="text/x-ccm-loader">

     (adsbygoogle = window.adsbygoogle || []).push({});

</script>```

### 3. Add Group Name

To ensure that the scripts can now be enabled together or activated by the visitor’s consent, we’ll add another attribute to the scripts:
The text within the quotation marks can be chosen freely. Here, we’ve opted for “adsbygoogle.”

Now, let’s add this part to the scripts we’ve already edited, after the `-` attribute:

```html
<script async data-ad-client="ca-pub-XXXXXXXXXXXXXX"
        data-ccm-loader-group="adsbygoogle"
        data-ccm-loader-src="https://pagead2.googlesyndication.com/pagead/js/adsbygoogle.js"
        type="text/x-ccm-loader"
></script>
And again in the horizontal display:
<script async crossorigin="anonymous"
        data-ccm-loader-group="adsbygoogle"
        data-ccm-loader-src="https://pagead2.googlesyndication.com/pagead/js/adsbygoogle.js?client=ca-pub-XXXXXXXXXXXXX"
        type="text/x-ccm-loader"
></script>
<!-- Horizontal Ad Test -- >
<ins class="adsbygoogle"
     style="display:block"
     data-ad-client="ca-pub-XXXXXXXXXXXXXXXXX"
     data-ad-slot="XXXXXXXXX"
     data-ad-format="auto"
     data-full-width-responsive="true"></ins>
<script type="text/x<nt>-</nt>ccm<nt>-</nt>loader" data-ccm-loader-group="adsbygoogle">
     (adsbygoogle = window.adsbygoogle || []).push({});
</script>
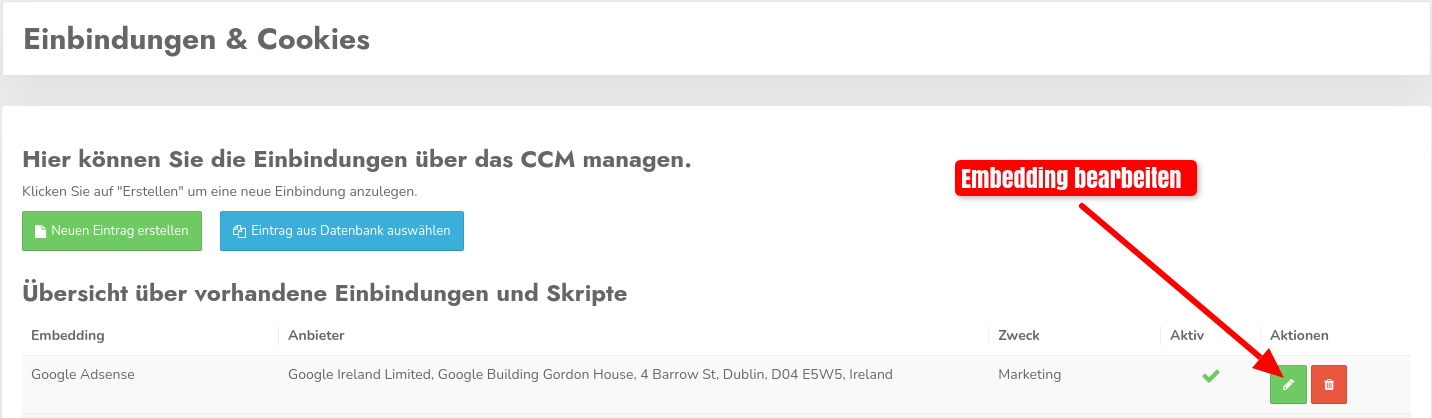
4. Define Grouping in CCM19
Currently, the last step has no effect yet, since CCM19 does not recognize the grouping. So let’s navigate to the corresponding embedding in the CCM19 administrative interface and edit it:
Near the top, we see a field for entering group names. There, we’ll enter our custom group name. In our case, it is “adsbygoogle.”
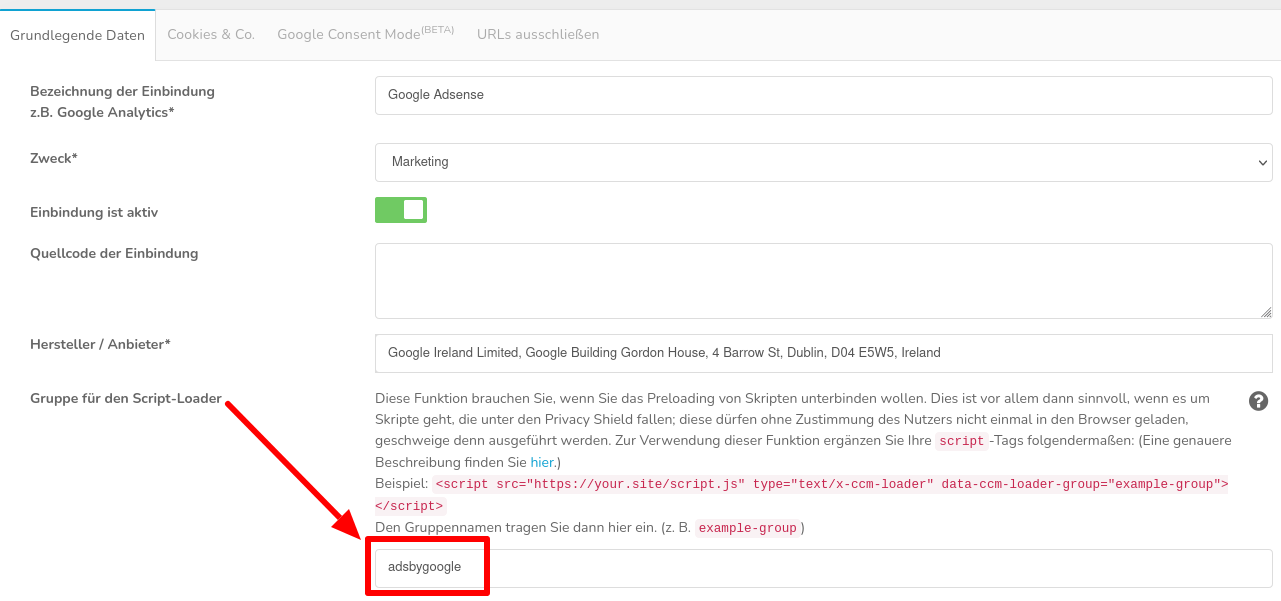
Don’t forget to save!