Updates
The "-" feature ensures you always have the latest stable version of the CCM19 tool (-). You can view the changes that have been made in the changelog.
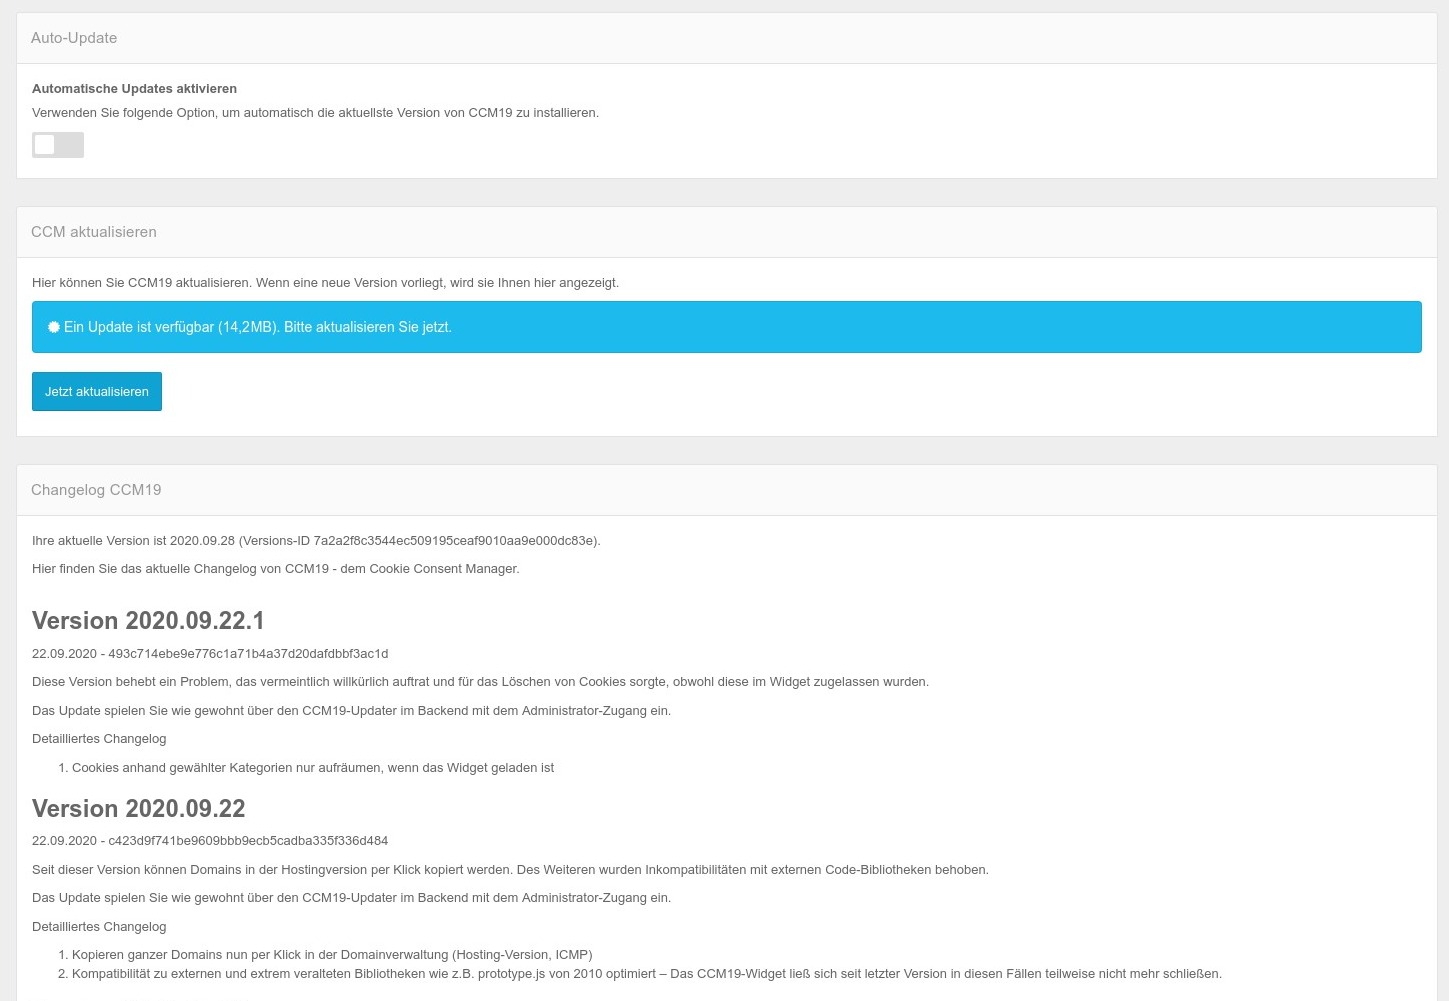
Automatic Updates
By enabling the "Enable Automatic Updates" feature, your CCM19-system will be updated automatically.
Beta-Version
You have the option—at your own risk and without support—to participate in the Beta-channel. To do so, open the “Update” menu item and press the following keys on your keyboard in sequence: ↑ ↑ ↓ ↓ ← → ← → B A
Afterward, the following entry will appear:
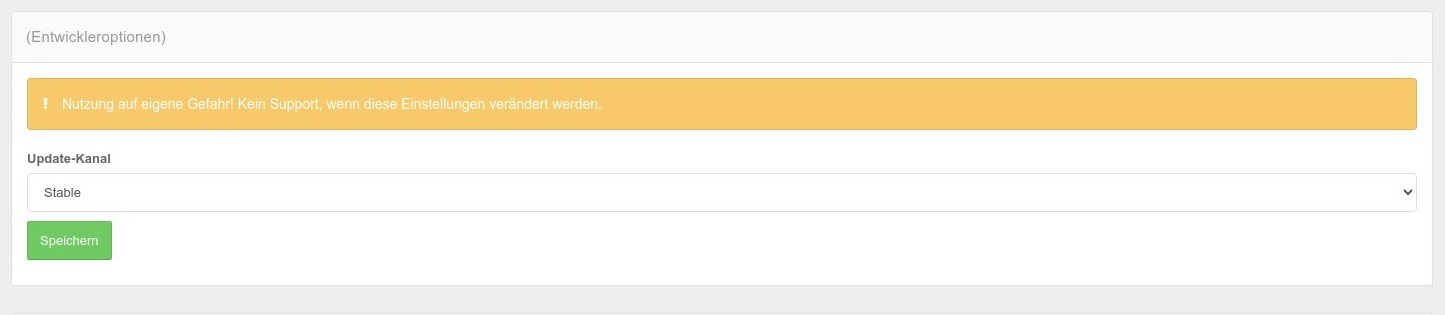
Select “Beta” from the drop-down menu here and click Save. You are now in the beta-channel for the distribution of updates and upgrades.
Errors After Updates (Very Rare)
If cryptic error messages appear after an update, the first step is to clear the cache at -> Edit Cache. This can happen in very rare cases when server access of any kind goes wrong.
Normally, this is done automatically after an update, but sometimes the process aborts under certain conditions—meaning the cache cannot be completely cleared. In that case, clearing it manually helps.
If this does not resolve the issue, you can instead try clearing the cache manually via FTP. To do so, navigate to the
var/cachedirectory of your CCM19-installation within your web space.There you may find several folders that begin with
prod_and end with a long sequence of numbers—for example,prod_20210929152426. The folder with the most recent modification date is likely the current cache-directory.Rename the corresponding directory before deleting it so that CCM19 does not repopulate it at the same time if, for example, site visitors access the widget during the deletion process. After making the changes, wait about 5 seconds to ensure that all requests to CCM19 that might still have been using the old cache-directory have completed.
Then delete the old, renamed cache directory-. This process may take a few minutes via FTP. The new cache directory-will be created automatically the next time CCM19 is accessed.
If it still doesn’t work after that, please contact Support—we’ll resolve the issue for you!